

Whether you’re an avid music listener or you need a reliable system to control your background music during a presentation or an event, controlling Spotify with Bitfocus Companion offers a powerful solution. This guide is for anyone looking to automate and integrate their music streaming experience across multiple systems, by using Bitfocus Companion to control Spotify on a Mac.
Before we begin, make sure that Spotify and Companion are fully updated. You can download the latest version of Spotify here and Companion here.
Now, let’s dive into the process:
Step 1: Create a Script
Open TextEdit on your Mac and paste the following code:
tell application "Spotify"
	set sound volume to 100
	set bgmTrack to "spotify:playlist:37i9dQZF1E8KXZ4bNdAvgW"
	play track bgmTrack
end tell
Save the file as spotify_play.scpt.
Step 2: Configure Companion Button
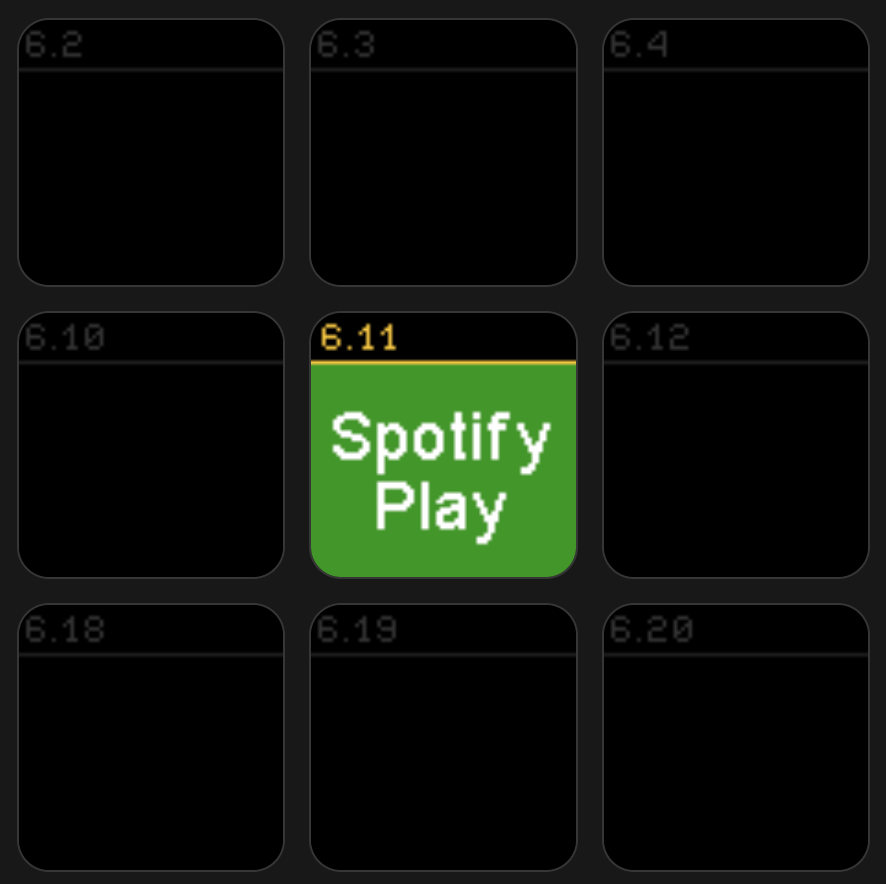
Navigate to the Buttons page in Companion and add a regular button, naming it Spotify\nPlay. In the “press actions” field, select internal: System: Run shell path (local).
In the Path field, you’ll need to enter the location of your saved script, like so: sh /Users/BEAVS/companion/spotify_play.scpt. Then click “Test Actions”.
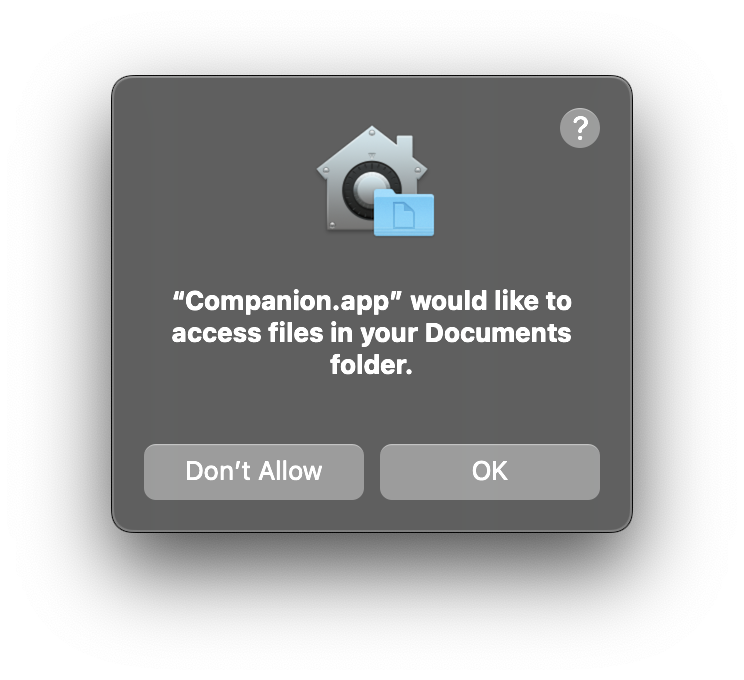
Note: If this is your first time using this method, you’ll be prompted to allow Companion to run the script. Simply click ok. Your music should now be playing!
Want to Play Something Different?
In Spotify, locate something you want to play. Hold control, click the 3 dots next to the song, and then click share. Here you’ll see an option to copy the Spotify Uniform Resource Identifier (URI) – this is a unique identifier for each song or playlist on Spotify. It will look something like this: spotify:track:4rf0IVQDFjr27T4sgah5Pf. You can edit the script to use the URI of your choosing.

Conclusion
And there you have it! With these simple steps, you now have the power to control Spotify with Bitfocus Companion on your Mac. We hope you find this guide helpful and that it simplifies your audio controlling needs. Feel free to share this post with anyone who might benefit from it, and drop any questions or experiences in the comments section below. Happy automating!
2 responses to “Controlling Spotify with Bitfocus Companion (Mac)”
I have multiple devices logged into my Spotify account. I know that Bitfocus Companion has the following variable $(Spotify:deviceName). Do you know what command line would be added to your example above to activate a specific playback device to ensure it is not routed to the wrong one.
When using Bitfocus Companion in conjunction with Spotify, specifically for managing playback on multiple devices connected to a single Spotify account, you can leverage the Spotify integration to target a specific device for playback. However, the direct script manipulation within AppleScript or through QLab won’t inherently switch Spotify playback devices. You would typically use the Spotify API or Companion’s built-in capabilities to handle this.
To ensure that your script or automation plays on the correct device, here are the steps you would typically follow using Companion:
Identify the Device ID: In Companion, you can use the variable $(Spotify:deviceName) to display the name of currently active devices. However, to control which device is active, you will need the device’s specific ID, not just the name.
Set Active Device: Companion, when set up with the Spotify module, can send a command to set the active device by its ID. This is crucial, as the ID allows precise control over which device is being controlled. You should configure a button or a command in Companion to send the Spotify:set_active_device action with the desired device ID.
Integrate with AppleScript: If you want to automate this within an AppleScript or a similar setup where AppleScript interacts with Companion (or directly with Spotify via API calls), you would ideally make an HTTP request to the Spotify API to set the active device. However, AppleScript itself does not support HTTP requests natively, so you would use additional tools like curl through a do shell script command.
Here’s a conceptual example of how you might integrate this with an external script:
-- Assuming you've already obtained the device ID through other means (e.g., manually or via an API call)set deviceID to "your_spotify_device_id_here"
-- Using curl to send a command to Spotify API to set the active device (requires OAuth token)
do shell script "curl -X PUT 'https://api.spotify.com/v1/me/player' -H 'Authorization: Bearer your_access_token_here' -H 'Content-Type: application/json' -d '{\"device_ids\": [\"" & deviceID & "\"], \"play\": true}'"
-- Your existing script follows, now controlling the specified device
tell application "Spotify"
repeat
set snd to sound volume
if snd ≤ tick then
set sound volume to 0
exit repeat
else
set sound volume to (snd - tick)
end if
delay thismany
end repeat
pause
set sound volume to 100
end tell
Important: This script requires a valid OAuth token from Spotify, which you would need to handle securely and renew periodically. Integration directly via Companion might not require handling tokens manually if it abstracts that part away.
In a live production environment, such as in theatrical productions or broadcasts where QLab and Companion are used, ensure all API interactions are tested and secure, and that device IDs and tokens are managed confidentially.